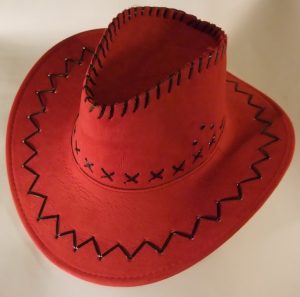
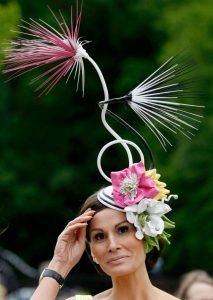
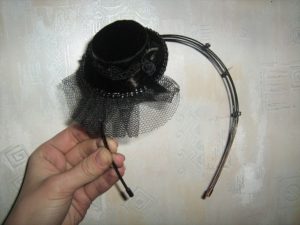
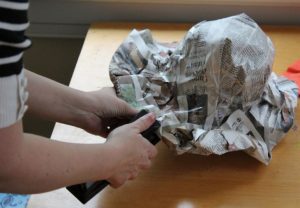
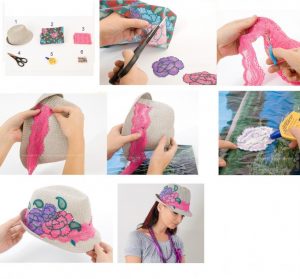
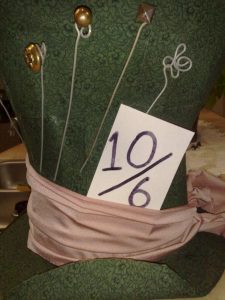
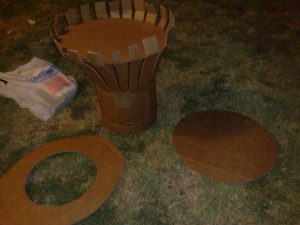
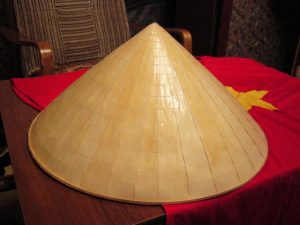
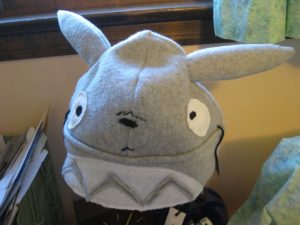
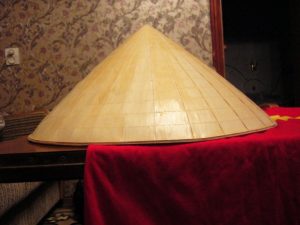
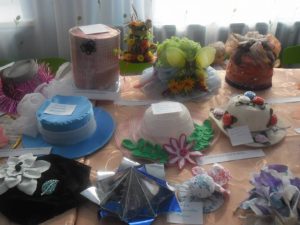
The idea came up with the idea of making an extravagant costume for a masquerade and are you looking at the photo of the hat with your own hands? Then this article is just for you.
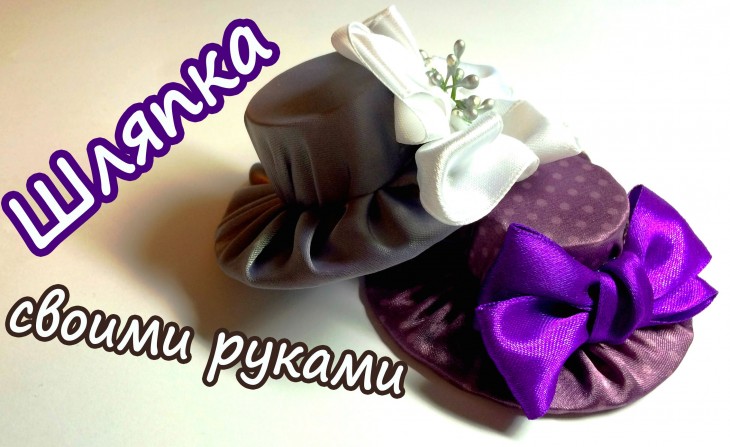
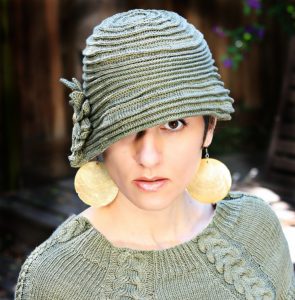
Here you will learn how to quickly and easily sew a hat with your own hands for almost any occasion.

Such hats that are quite easy to create can easily become a good substitute for expensive purchased costumes, and at the same time they will look almost as unusual and interesting as they are.
Review Content:
Making a hat out of plain paper
Of course, a paper hat is one of the easiest methods to add some variety to your outfit bought for a masquerade.
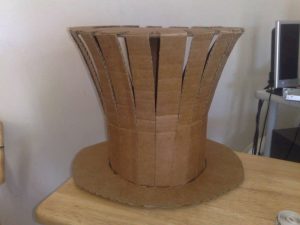
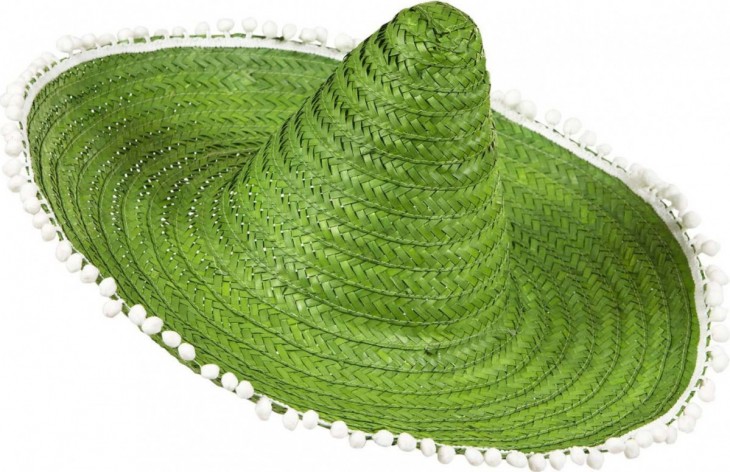
Using any scissors, as well as ordinary glue, it’s quite simple to create an incredible sombrero that all travelers in Mexico like to buy, a cocked hat like a pirate’s, or even a beautiful top hat like a real gentleman’s.

Definitely a cardboard hat is an ideal option for those who do not have much free time, but who would like to surprise the guests of the event.
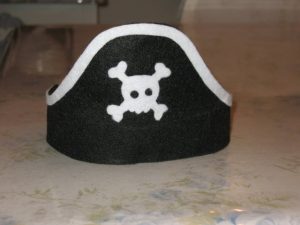
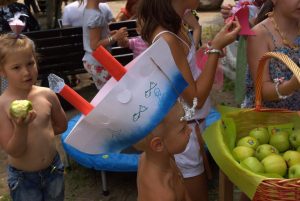
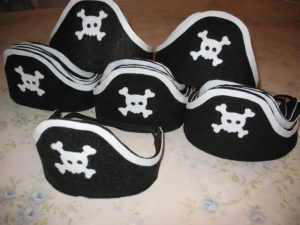
Making a hat like a pirate
If suddenly the teachers in the group said that you need a hat in the kindergarten for the holiday, you should not panic, even if you had never done anything with your own hands before.

First of all, it is necessary to prepare the materials that will be needed later: this is colored paper, preferably white, black and any other bright color to add hat originality, an elastic band for a hat, a needle, glue, as well as a felt-tip pen or a black pen.
Step-by-step instruction
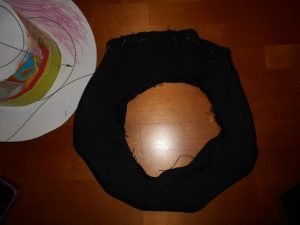
Draw a square on black paper and cut it out. Please note that the side of the square should be equal to the short of the sides of sheet A3.

Turn the cut square into a circle by gently rounding the corners of the figure.
Fold a sheet of white twice in length. Cut the resulting strip across so that you get a beautiful fringe, it is important not to touch the bottom edge.

Expand the sheet and cut it straight along the folds. Twist a felt pen or pen slightly over the fringe in each strip.
All curly stripes should be glued to a black circle.

It is important to pay attention to the fact that in order for the fringe to look neat, it is necessary to glue it so that all the edges bent by you look exclusively up.
Right in a circle, it is necessary to note three points that will be removed from each other at the same distance.

Three folds are made from each of the notes to the next. As a result, you will find a triangle with equal sides. Hat fields must be folded up.
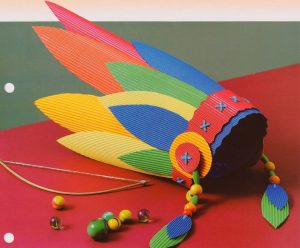
Thinking how to decorate a hat, you can, for example, make two feathers. The technology is similar to the principle of creating fringe.
Note!
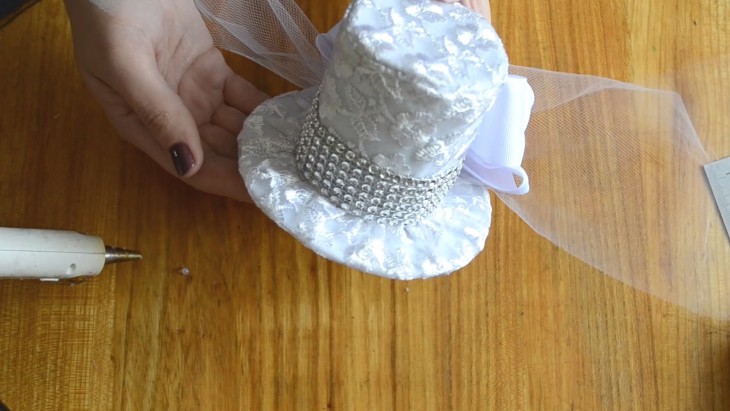
For the front of the parts of the headgear, you need to cut a scary skull of white color with several bones. Then it is painted and glued to another curved field.
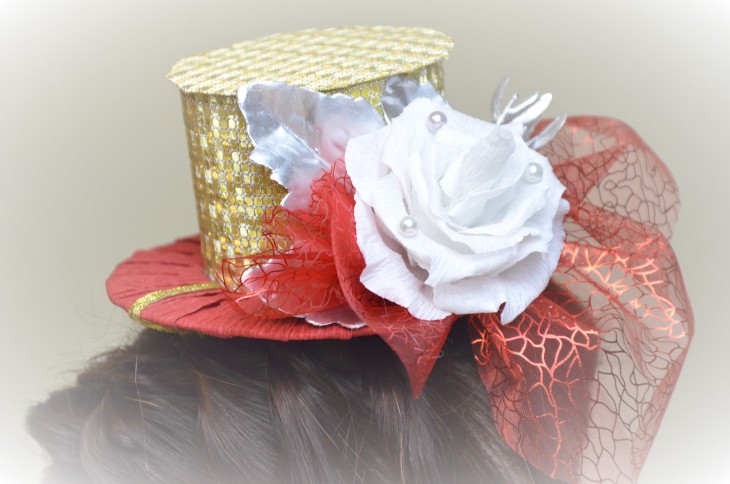
It remains only to pierce with a needle two holes in the hat and fix the elastic.

After such a detailed instruction, the question of how to make a hat with your own hands will probably be left to nobody.
If you needed a hat for the girl for the February 23 holiday, then in this case the ideal option is to create a cap.

How to make a simple cap at home?
In order to make a cap for a child, you need half the sheet of any old newspaper with A3 format or the most ordinary sheet with A4 format.
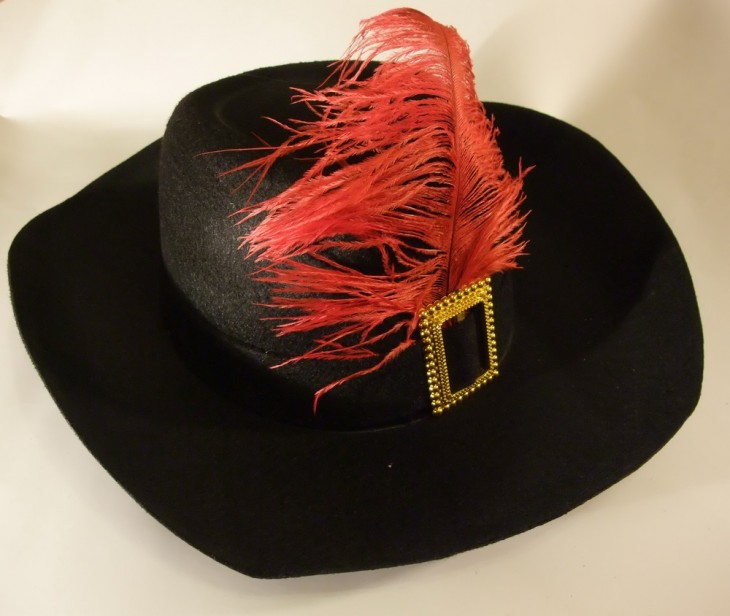
Note!
What should be the sequence?
- Fold the sheet in half with the necessarily short sides to each other and unfold it with the resulting fold up;
- The angles located on top of the resulting figure must be turned down and then to the center, and then all the bends are smoothed out;
- It turns out a paper house with a neat triangular roof;
- The bottom, fairly long rectangular stripes must be unscrewed from each side up and again to smooth the folds;
- Wrap the triangles that remained free in different directions and secure in this way a makeshift hat made of waste paper.
Just like that, in just a few hours, you can independently create a rather interesting headdress for a child or for yourself.
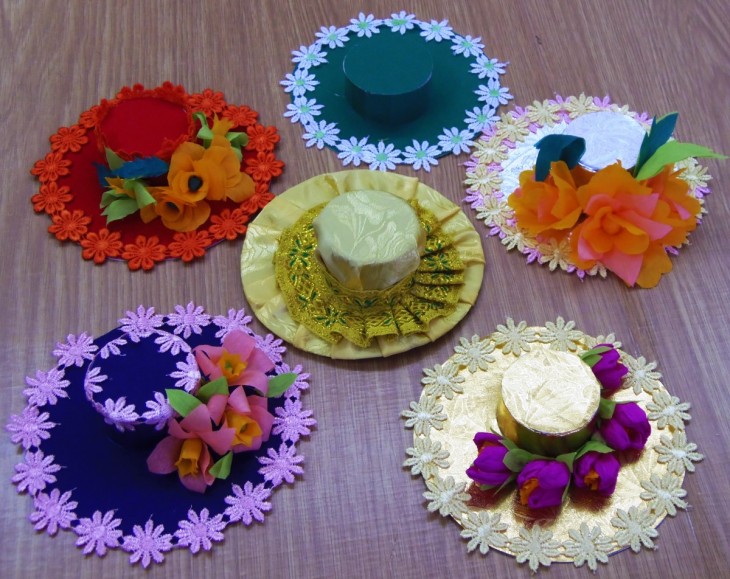
All you need, except for the materials, is a little imagination and patience in hard work.

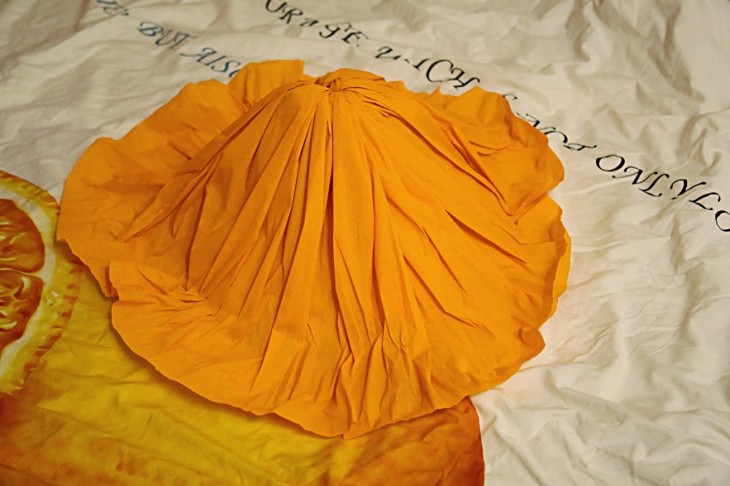
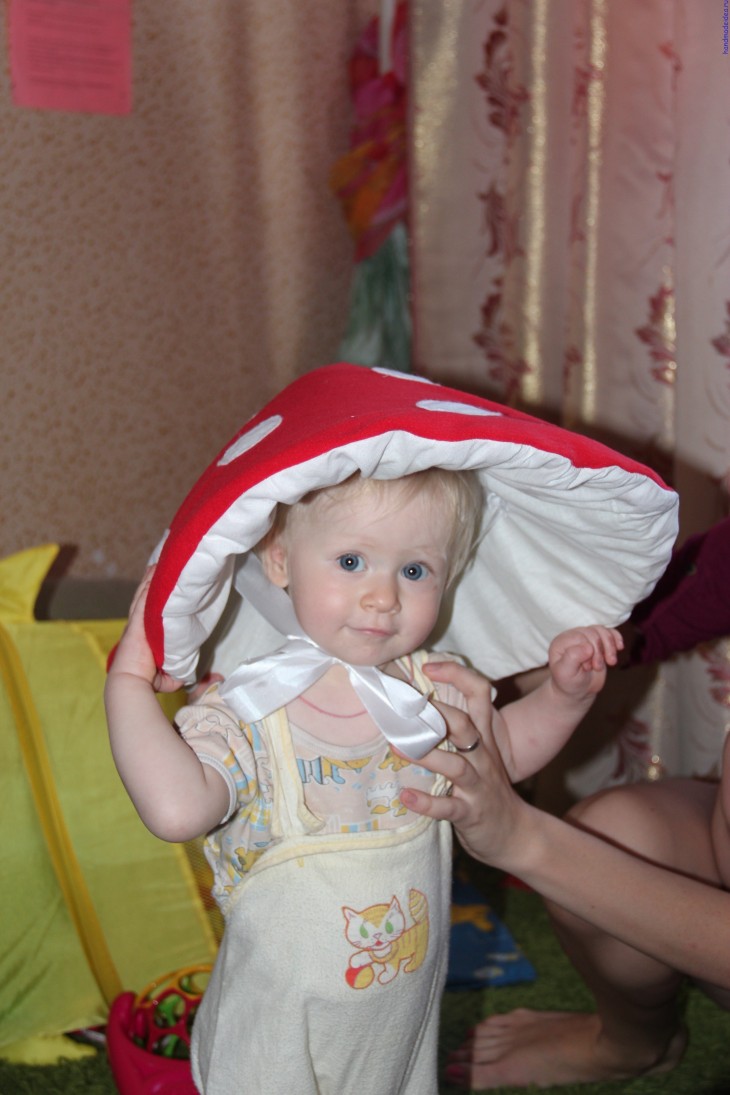
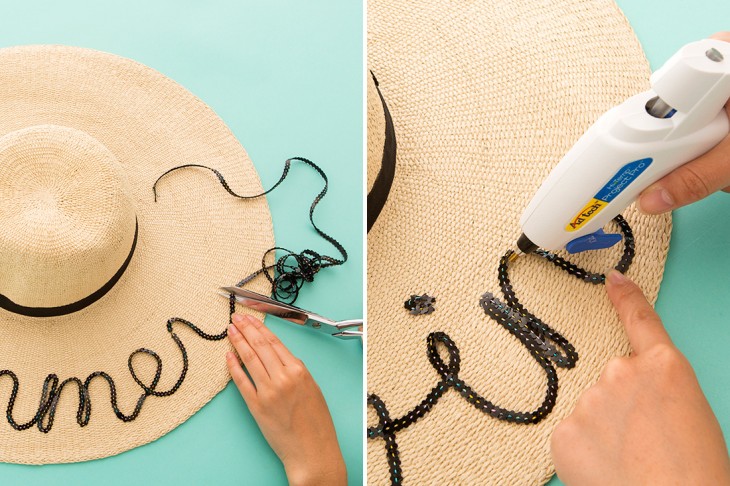
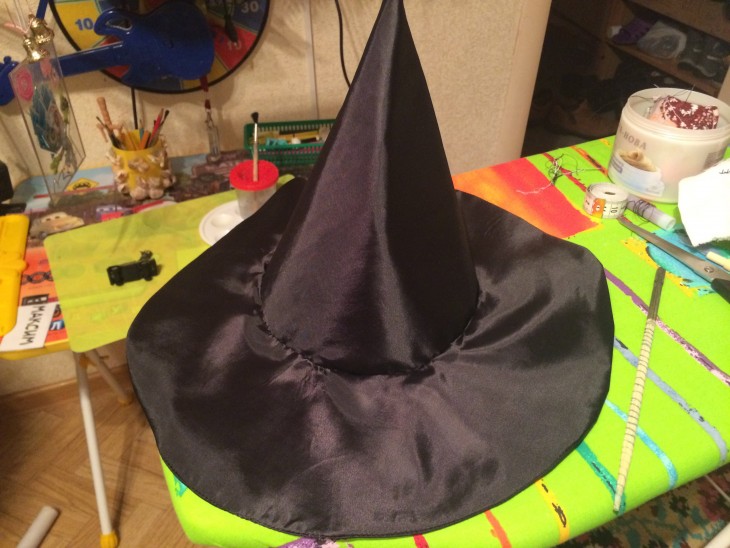
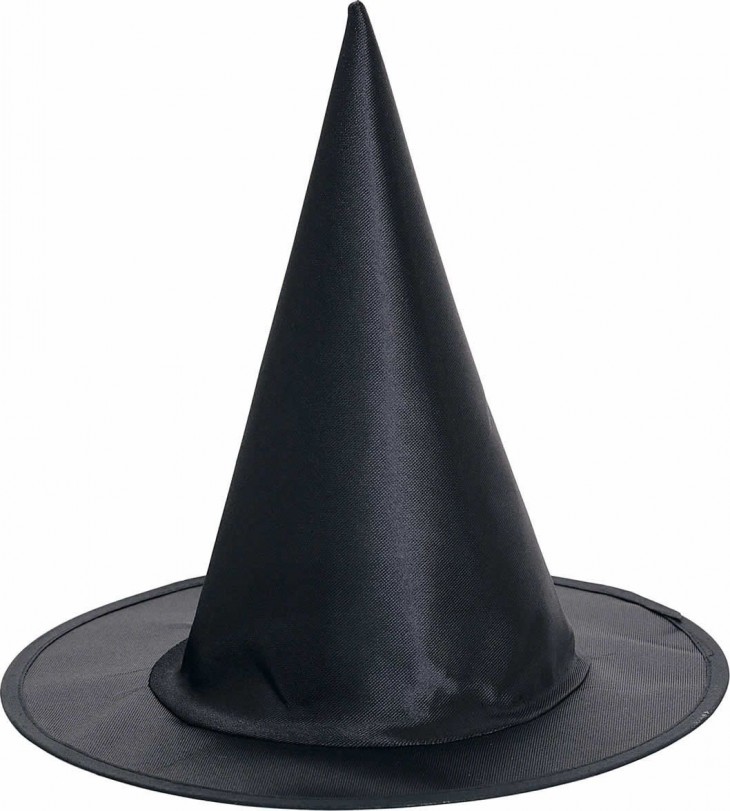
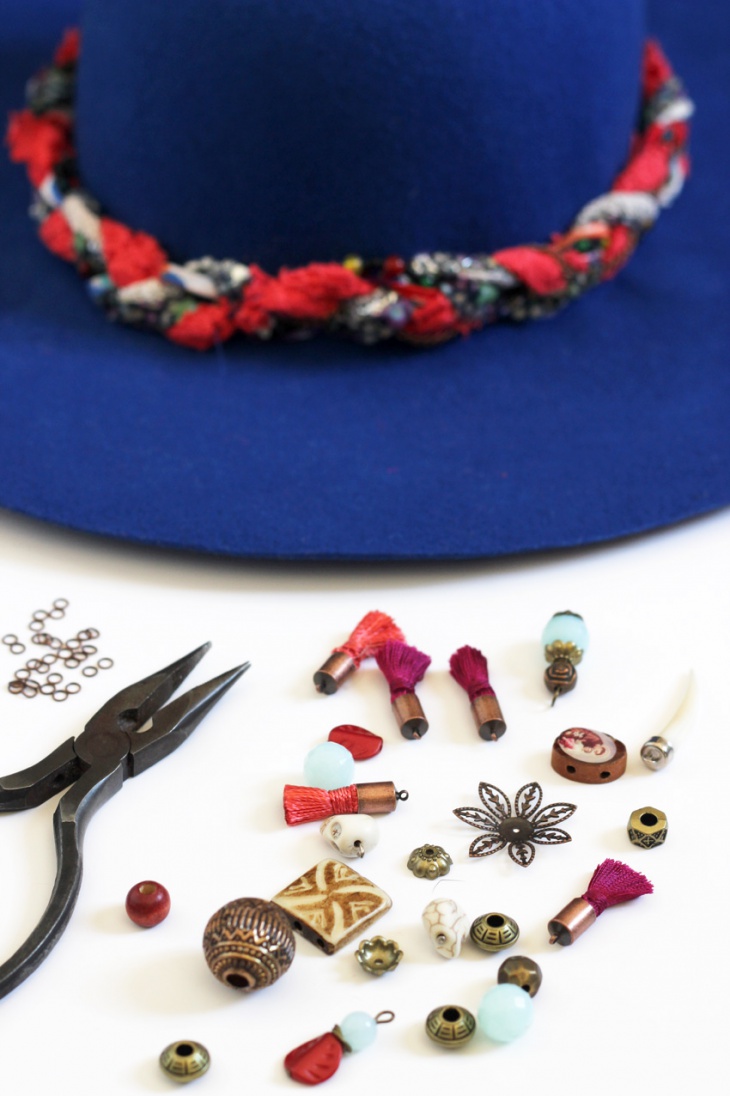
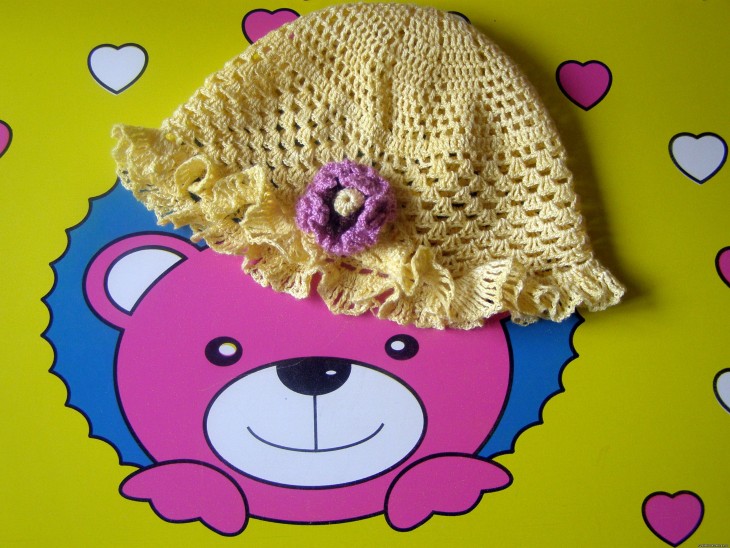
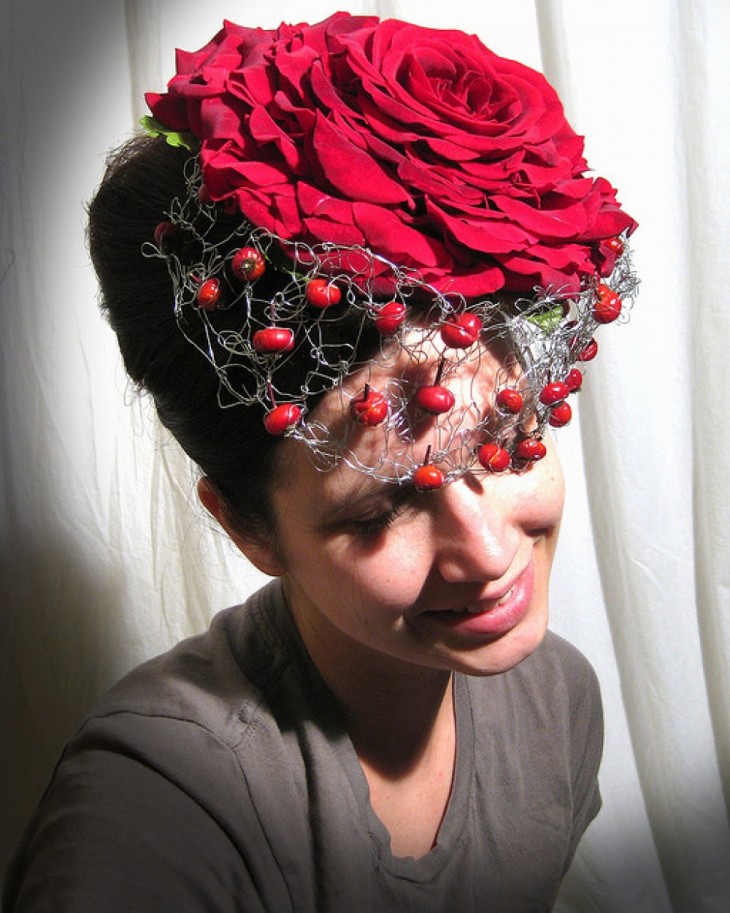
DIY hats photo



Note!






Cottage - a review of ideas for arranging a summer cottage. Photos, instructions and news!
DIY fence: 73 photos of the installation or construction of a beautiful and reliable orgada
DIY garage - 82 photos of building and summing up all the necessary systems and communications
Do-it-yourself soundproofing of walls: 96 photos of installing a thermal insulation layer


