Hunting and fishing is a favorite pastime of many men. Sit with a fishing rod, in the early morning in the thickets of reeds, a special romance of the fisherman.
Vehicles for fishing, and just for walking, use different - rubber, aluminum, boats made of PVC and even plywood.

You can buy a boat of any kind, there would be money, but how to make a boat with your own hands? We will tell in our article.
Review Content:
Plywood boat
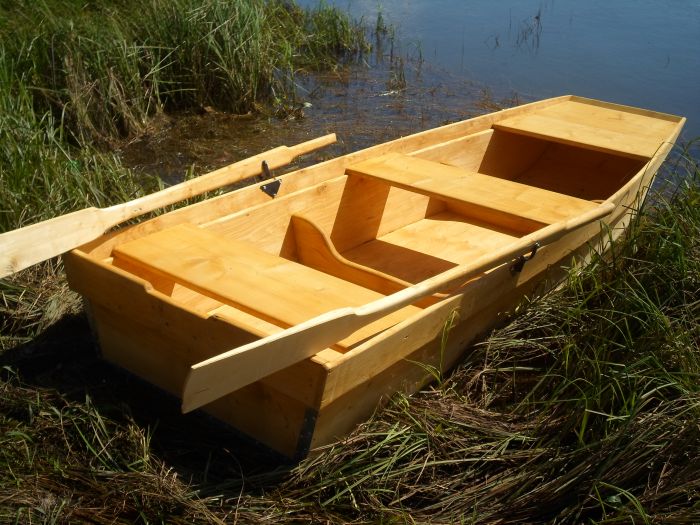
Homemade plywood boat is very light, convenient to use and much cheaper than in the store.

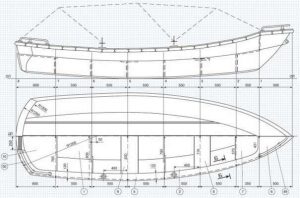
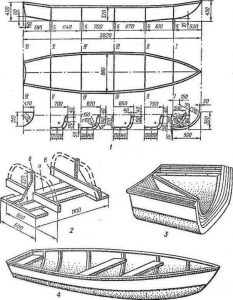
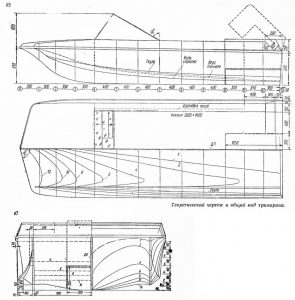
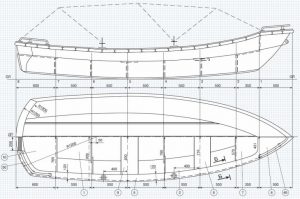
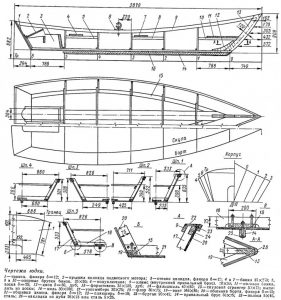
The most important preparatory moment in the construction are the drawings of the boat. Having accurate calculations, in the future you will not have to spend time and effort on remaking and fitting the product.
Calculations
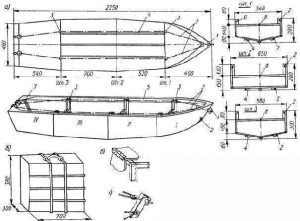
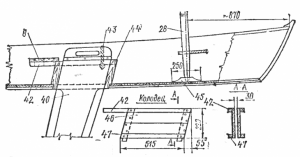
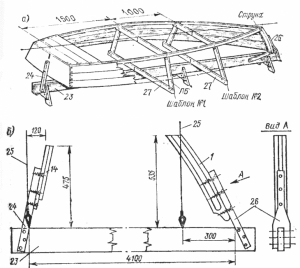
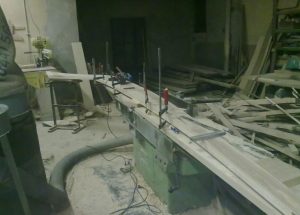
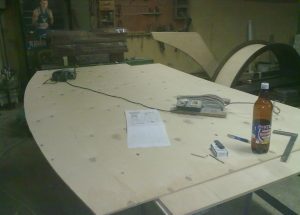
We offer you one of the calculation options. Transferring the drawings to paper, we get the templates of all the necessary parts of the boat in full size. Now you can "cut out" our product, and cut the workpiece with a jigsaw. Having received all the cut parts, you can begin gluing.
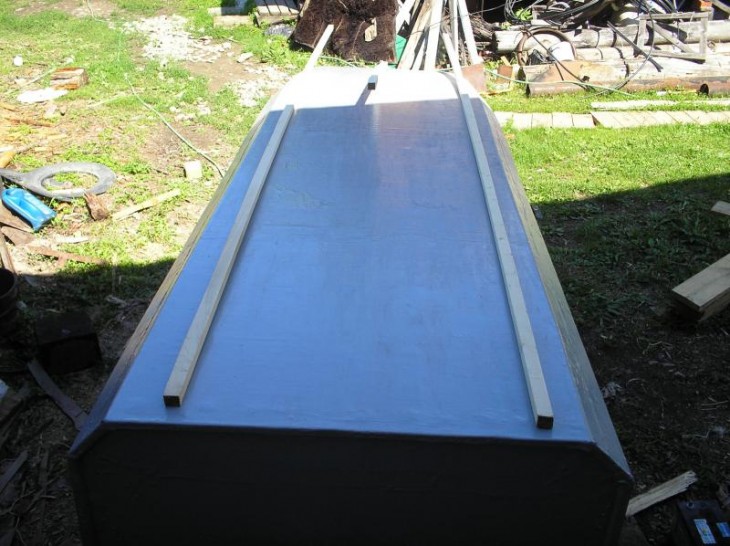
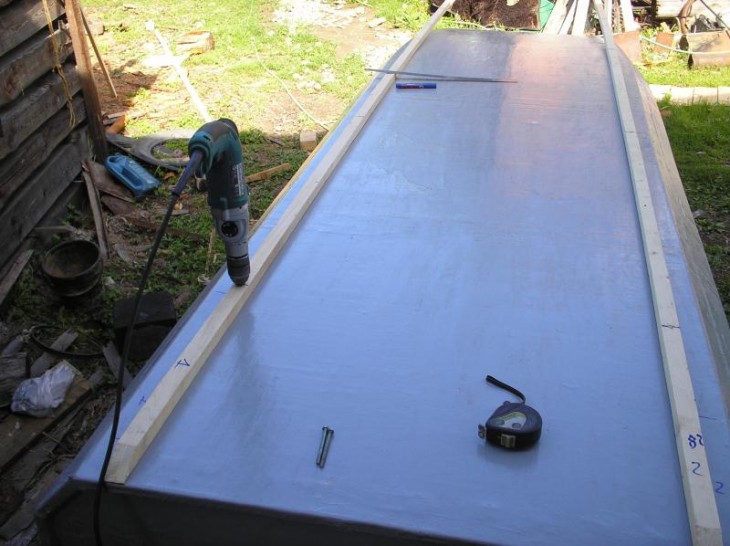
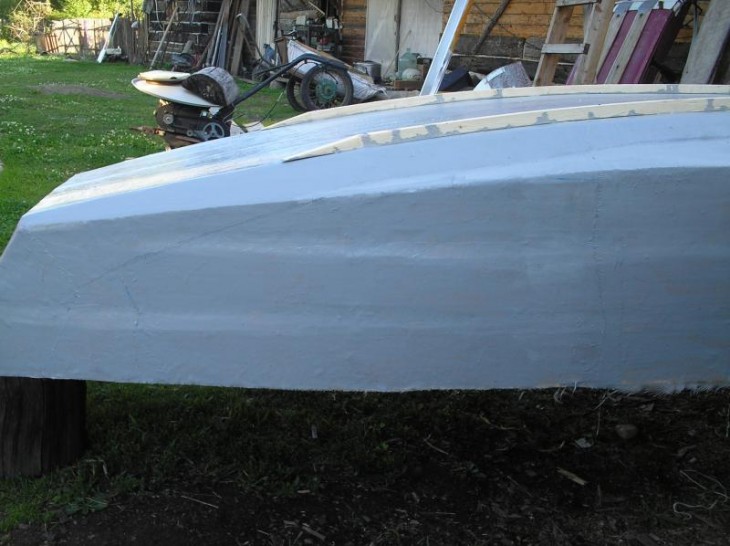
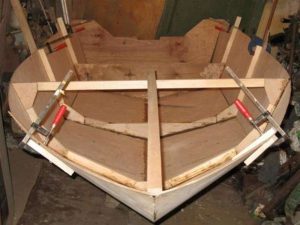
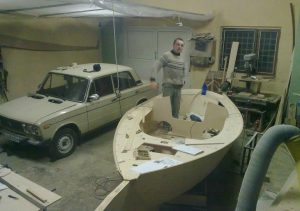
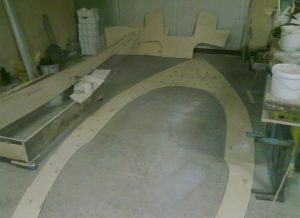
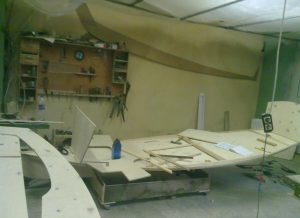
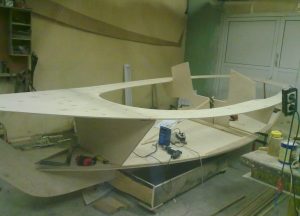
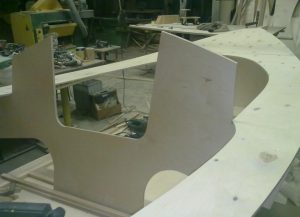
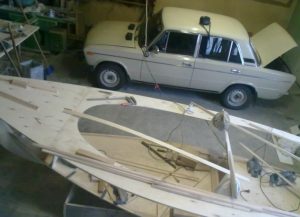
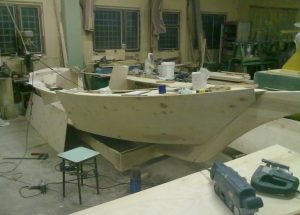
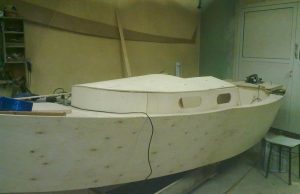
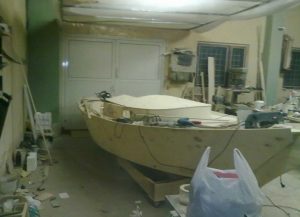
First of all, we connect the load-bearing structural elements, transom (section of the stern) and frames (transverse rib of the hull). Then the bottom and sides are attached to the transom, as in the photo of the boat.
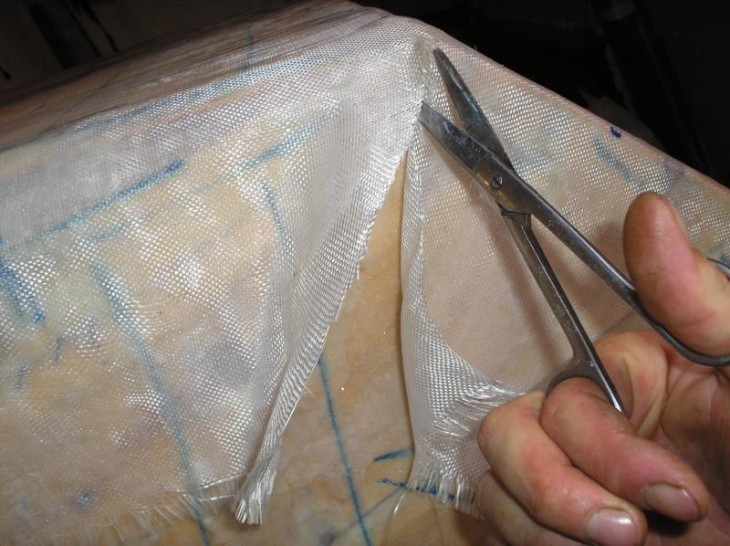
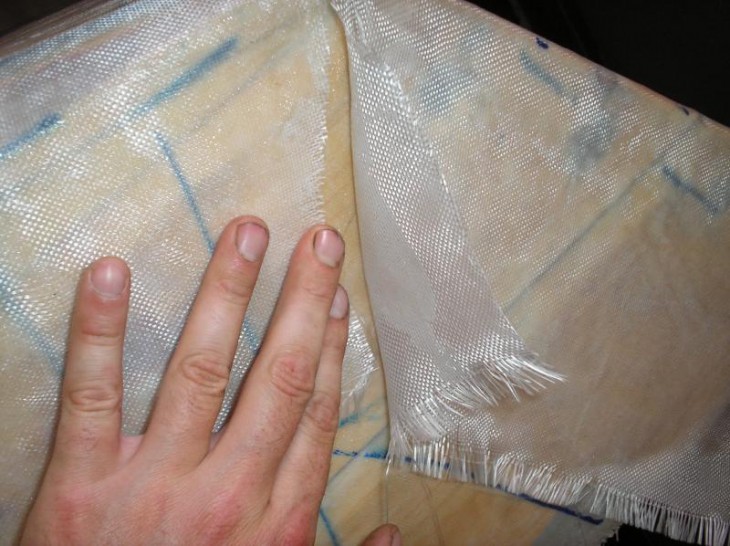
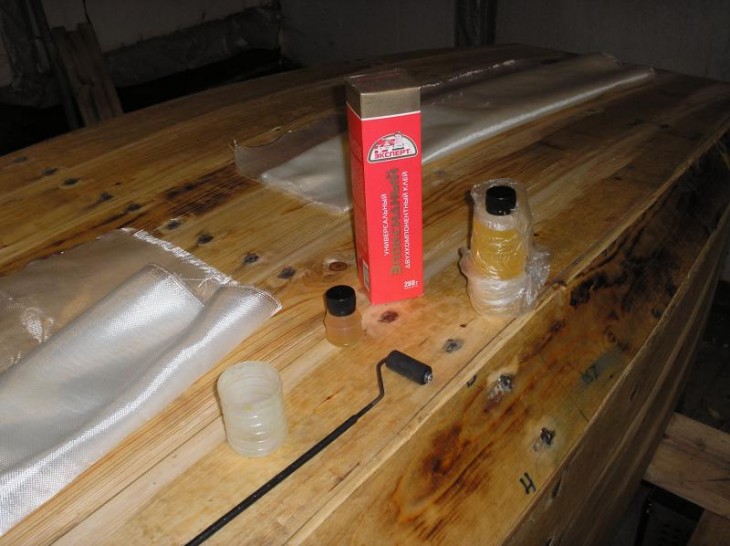
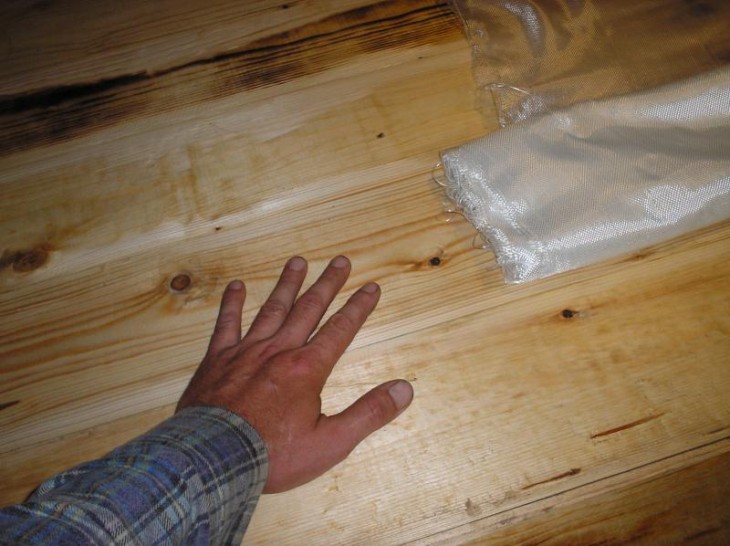
Use epoxy and fiberglass tape to connect all parts. These materials will not only connect all parts of the structure, but also create a waterproof seam.
Putting together a boat
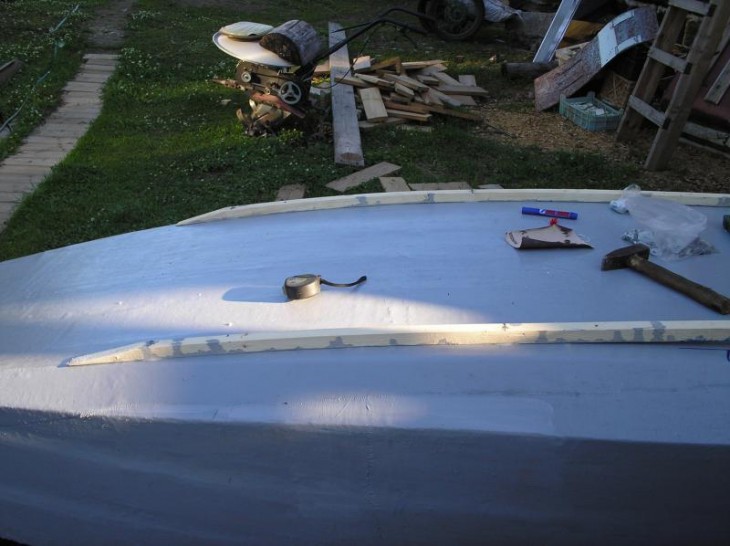
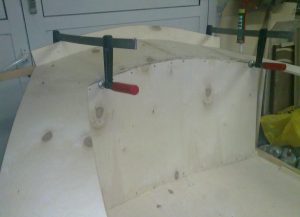
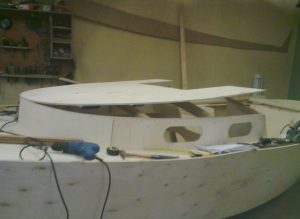
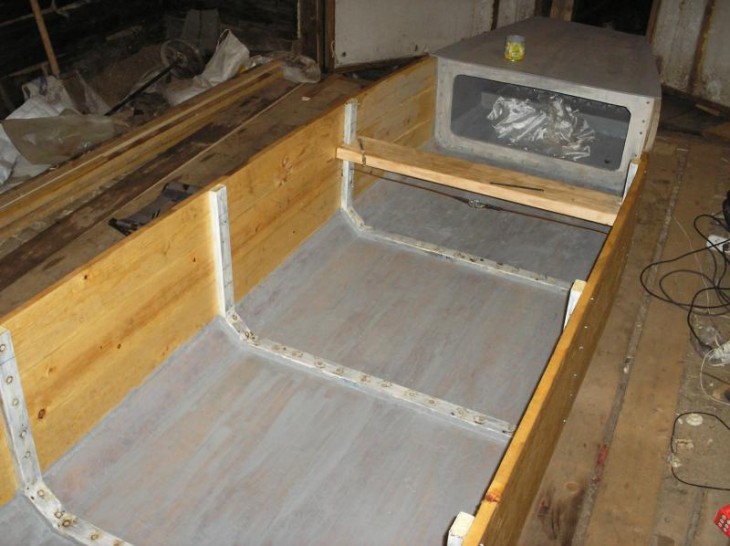
Having fastened the plywood to the side structures, we can proceed to strengthen the angles between the sides and the bottom. Do this with the help of wooden corners, then proceed to sealing the seams.

To obtain suture material, epoxy resin and aerosil are mixed in equal proportions. Further, the seams are not just lubricated, but filled with this composition.

Once the entire structure has dried, you can mount the seat. If the boat has a motor, we fasten the transom and bow cover.

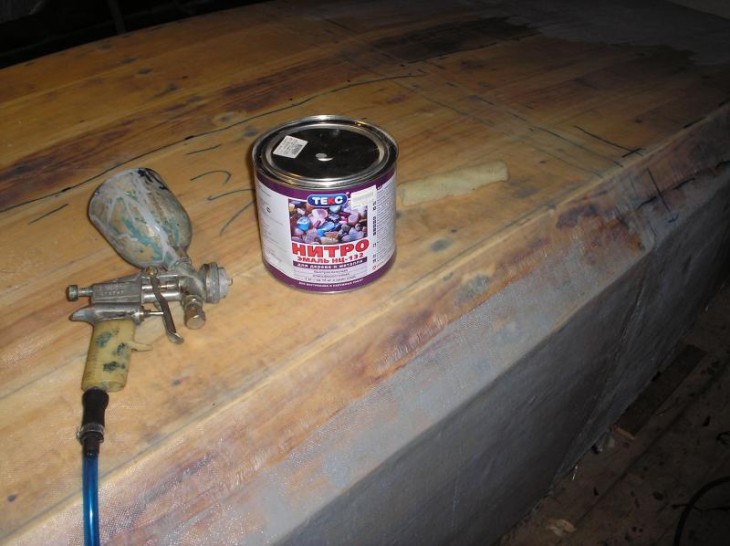
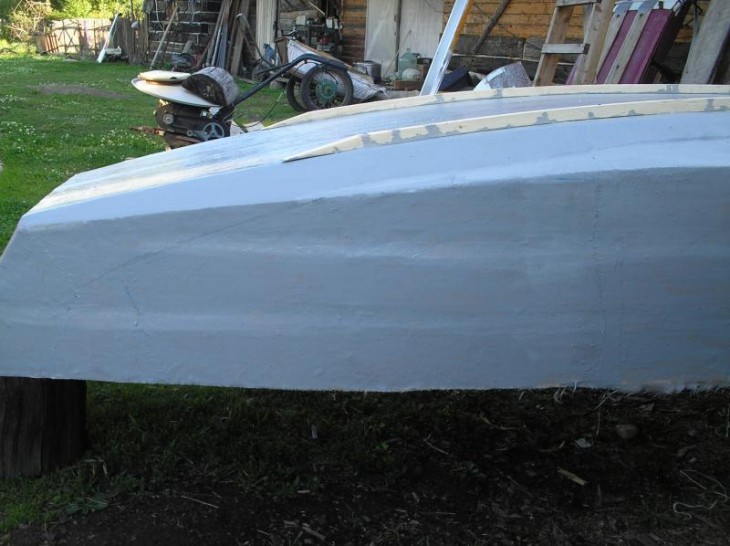
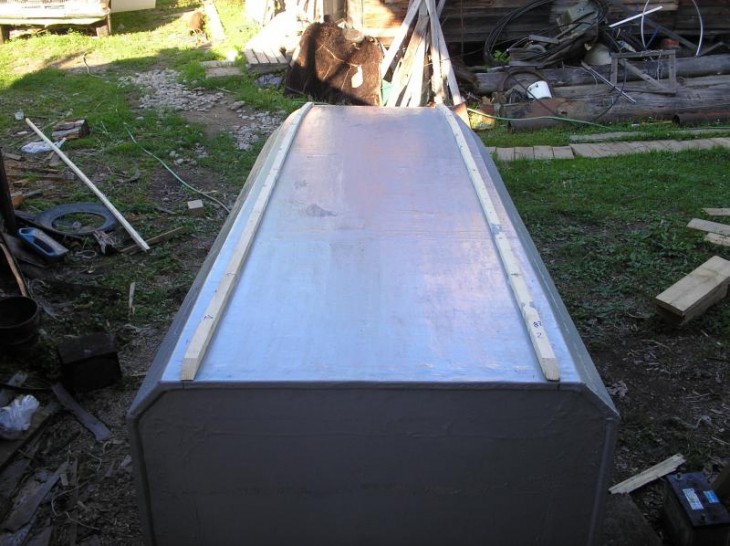
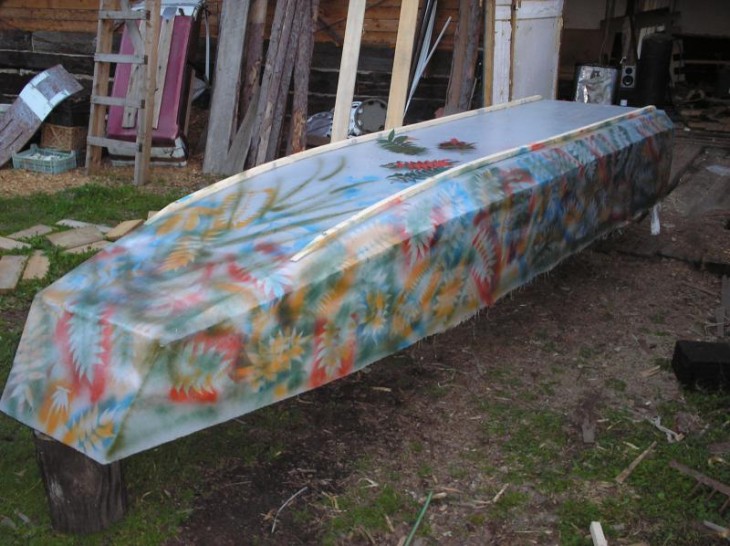
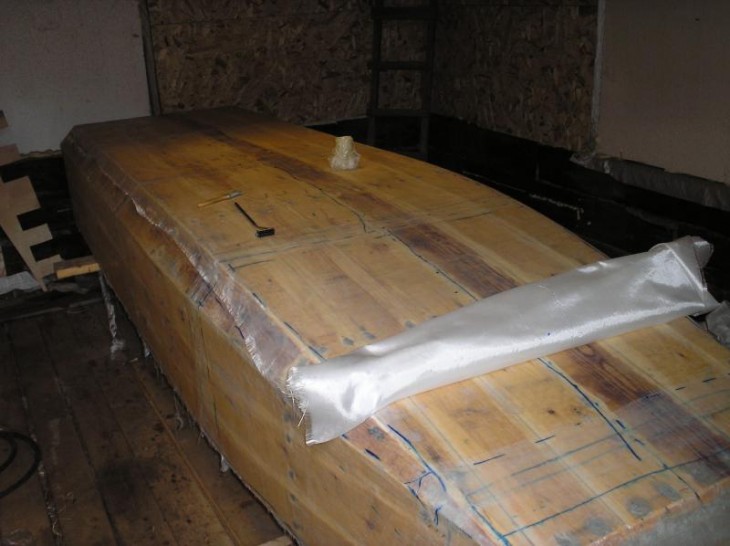
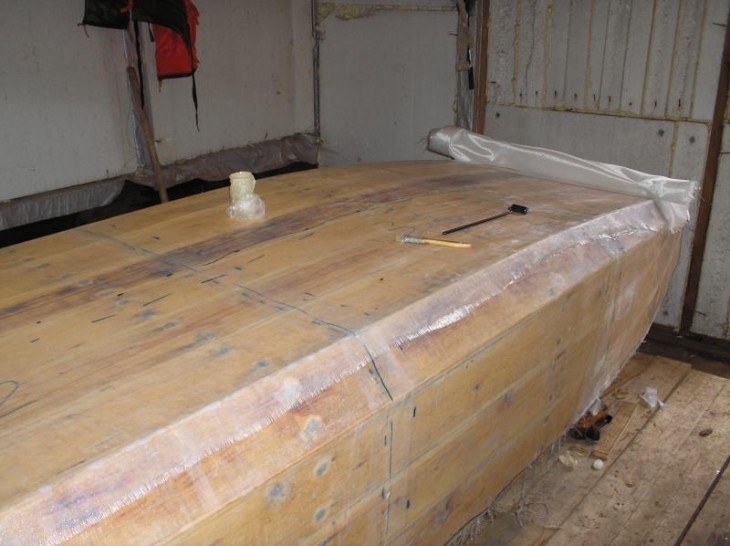
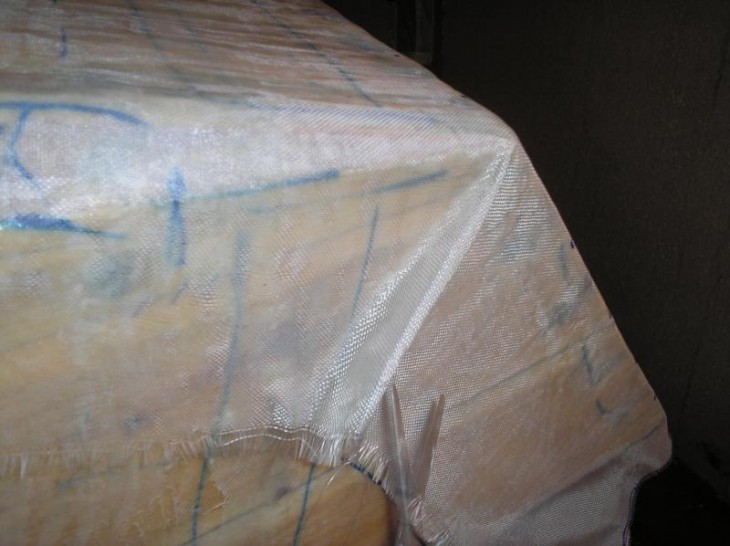
The outer part of the boat also needs processing, it is necessary to glue all the external seams, also using resin and fiberglass tape, after drying, grind the surface. Then prime and paint.

Repair damage in a PVC inflatable boat
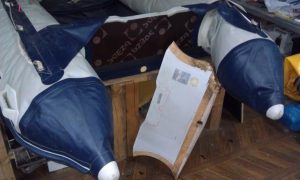
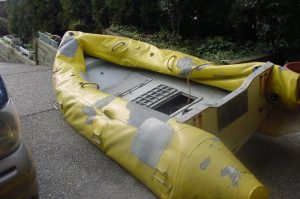
If you already have an inflatable boat and you are actively using it, then surely there are often moments of leakage due to a puncture or cut of the material of the vehicle. Restoring a boat from PVC is not at all difficult, it is easy to do in Spartan conditions and even on water.

Of course, in order to get a better result, you need to have time and repair better in the workshop. When the leak is eliminated, the glue dries, ideally, 3 days, although there is nothing to worry about if you use the boat in a day.

If the boat was repaired on the water, it is necessary to redo everything upon return, since a patch glued in haste and without observing technology will not last long.

If a puncture occurred during fishing or hunting, use only the defect elimination kit included with the boat.
Overhaul of the boat
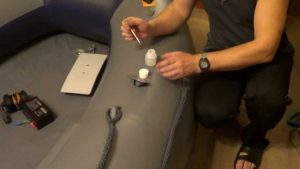
For the overhaul of the boat you need:
- Repair kit (included with the boat);
- Scissors;
- Roller;
- Pencil;
- Degreasing solvent;
- Hair dryer;
- Adhesive brush.
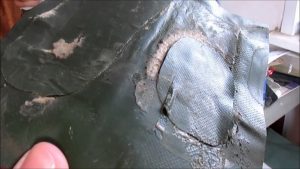
Cut out a rounded patch in shape from the spare fabric. It should be 4-5 cm larger than the cut.
Note!
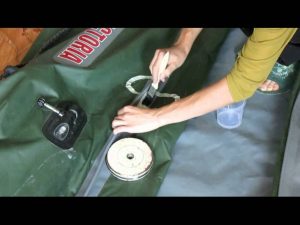
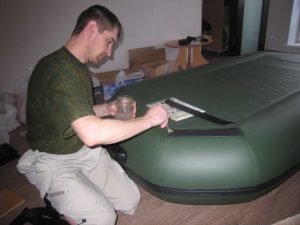
Spread the repair area on a flat surface, clean from dirt and degrease with solvent. Put the patch on the hole and circle with a pencil, grease both surfaces with PVC glue and let dry.

After 15-20 minutes, repeat the procedure and again allow time to dry. After 5 minutes, you can start the restoration directly. Touch the surface of the patch with your finger, it should stick slightly.

Then, to activate the adhesive surface, it is necessary to heat the patch itself and the puncture site, a hairdryer is ideal for this, just act quickly so that the glue does not dry.
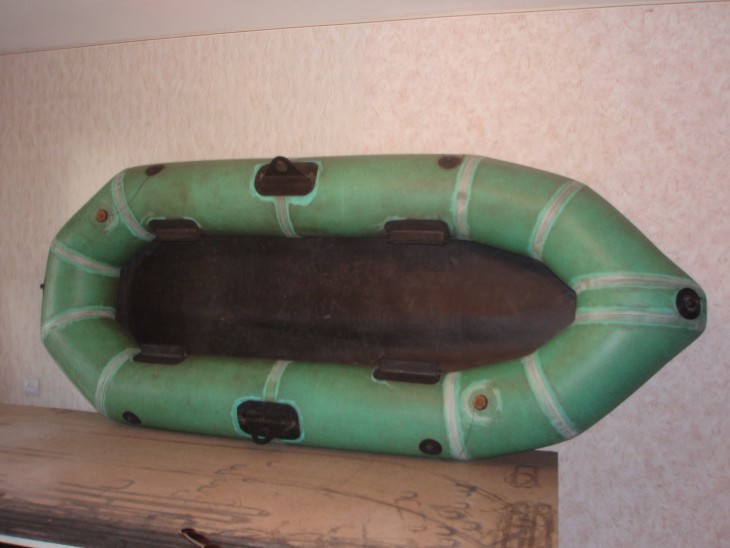
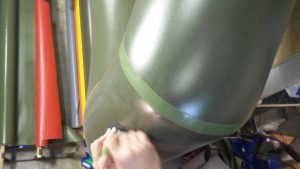
Now you can apply surfaces to each other with the adhesive side, and gently expelling all the air to iron the patch with a roller. After we leave to dry for at least one day.

In conclusion of our article, we can say that it is not necessary to spend heavily on the purchase or repair of a boat. With some effort, you can enjoy what you love.

Note!
DIY boat photo



Note!
